
How to Install Your Driveway Sensor: A Step-by-Step Guide (Images)

Installing a driveway sensor might sound like a complicated project, but it doesn’t have to be.
With a Cartell driveway sensor, the installation process is simple: choose the right location, prepare the sensor, secure it in place, and cover it back up.
Once installed, the sensor can detect moving steel vehicles entering or leaving your driveway without relying on general motion detection.
In this guide, we’ll walk through the basic process of installing your driveway sensor directly in the ground, as well as an alternative installation method using an immovable object.
Before You Start: Choose the Right Location
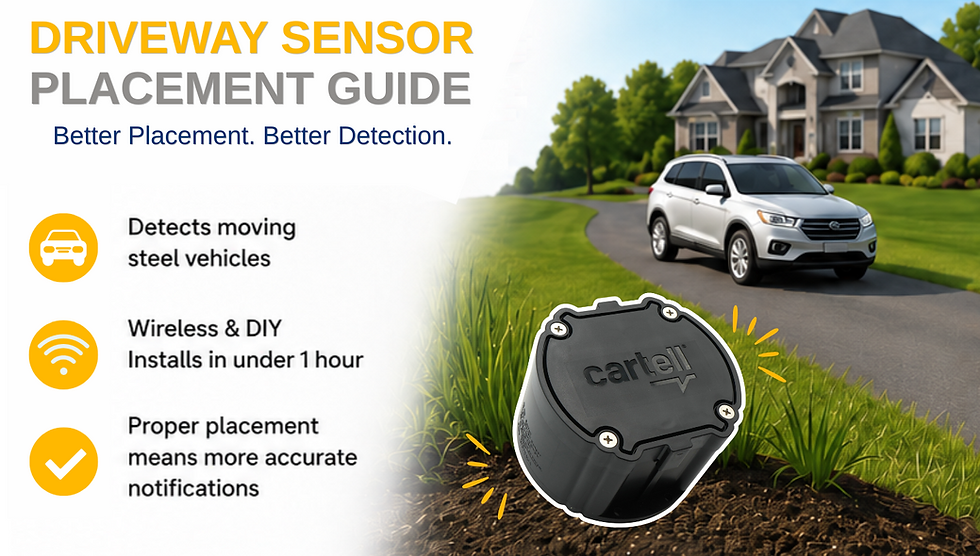
The location of your sensor plays an important role in getting reliable vehicle detection. You want the sensor positioned as close to the driveway as possible in order to accurately detect passing vehicles while avoiding potential sources of interference.
We cover this topic in much greater detail in our guide: “Where to Place Driveway Sensors for Best Accuracy.”
Once you’ve selected your installation location, you’re ready to get started.
Step 1: Remove the Sensor And Components From The Packaging
Start by removing your Cartell driveway sensor and the included installation components from the packaging.
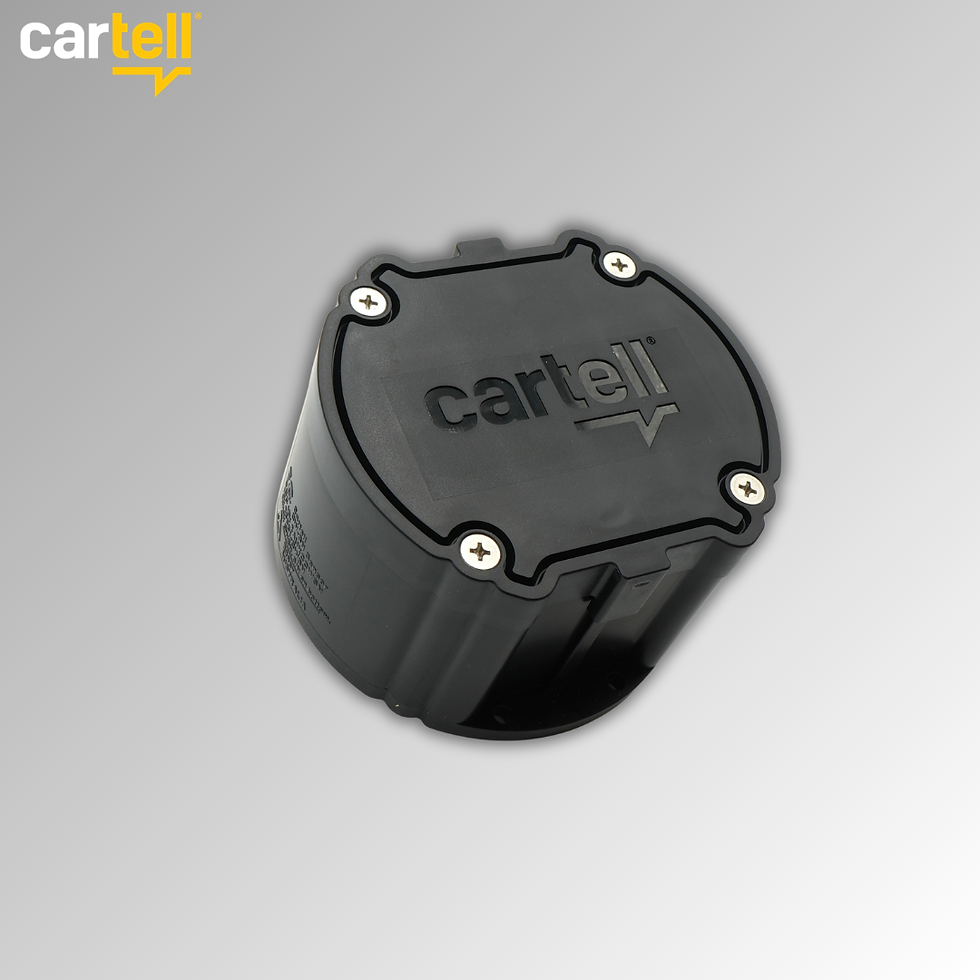
Depending on your Cartell system, this may include the sensor puck, two CR123A batteries, auger screws, and other components for your system.

Step 2: Open the Sensor and Install the Batteries
Using a hand held screwdriver to remove the screws from the sensor lid and carefully open the sensor.
Insert provided CR123A batteries, making sure the polarity of each battery matches the markings inside the sensor. Once the batteries are installed, the sensor will automatically power on.

Step 3: Pair Your Sensor, If Necessary
Before closing and installing the sensor, make sure it is properly paired with the rest of your Cartell system.
If your sensor was purchased as part of a kit, the sensor and corresponding Cartell system component will arrive paired from the factory.
If you're adding an additional sensor or accessory, complete the pairing process before installing the sensor.
Refer to the installation instructions within your manual for the appropriate pairing procedure.
To watch a video of the installation and pairing instructions, please visit the Installation Instructions Page here.
Step 4: Test Your Sensor and Radio Range
Before permanently installing the sensor, test it in the location you've selected.
Place the sensor near its intended installation location and confirm that your system receives its signal.
This is an important step: it's much easier to adjust your installation location before the sensor is secured in the ground, or to an immovable object.
Step 5: Properly Close and Seal the Sensor
Placing the lid on the sensor during installation will help keep it clean. Remember, the installation isn't complete until the sensor lid is properly sealed as outlined below.
First, make sure the sensor rim, lid, and lid gasket are completely clean and free of dirt or debris. The sensor puck and lid are keyed, so make sure they are correctly aligned.
Tighten the screws until the seal compresses and the lid makes contact with the sensor puck. There should be no gap between the lid and puck.

Step 6: Dig a Small Hole Beside the Driveway
Now it's time to prepare the installation location.
At your selected location directly beside the driveway, dig a hole large enough to accommodate the sensor puck and the provided auger screws.
A small shovel, hand tool, or appropriate drill attachment can make quick work of the hole depending on your soil conditions.

You do not need to dig a large or excessively deep hole. The goal is to position the sensor so that the sensor lid is approximately level with the surrounding ground surface.

Step 7: Place and Secure the Sensor
Place the closed sensor puck into the prepared hole.
Before securing the sensor, check its orientation. The Cartell logo on top of the sensor should run parallel with the driveway, pointing in the same direction as vehicle travel.
Position the sensor properly, then use the provided auger screws to secure it in place.
The auger screws should overlap the bottom mounting tabs of the sensor to hold it securely in the ground.

Step 8: Pack the Dirt Around the Sensor — Don't Automatically Bury the Lid
Once the sensor is secure, pack and tamp the surrounding dirt firmly around it.
Make sure the sensor is secure and test the system again after installation to confirm reliable communication from its final position.

For best radio range, we recommend leaving the sensor lid exposed rather than covering it with dirt.

Pro Tip: Using a Sensor Box or Sprinkler Box
Looking for another way to keep your driveway sensor easy to locate and access?
Some installers place the sensor inside a Cartell Sensor Box Cover or sprinkler box.

This can help keep dirt and debris away from the sensor while making it easier to locate and access when future maintenance or battery replacement is needed.
If you use this installation method, the sensor must remain securely fixed in place. Movement of the sensor can cause false detections.
Secure the sensor to the bottom of the box using the mounting tabs or use foam to hold the sensor securely in the center of the box.
Whatever method you choose, make sure the sensor remains firmly secured and cannot move inside the box.
Alternative Installation: Mounting the Sensor to an Immovable Object
Don't want to install your sensor in the ground?
A Cartell wireless sensor can also be mounted to a stable, immovable object beside the driveway, such as a post or tree.
The key word is immovable.
Because movement of the sensor can cause false detections, the object you choose should be firmly secured and unable to move.

When mounting the sensor to a post, there is no need to position it high off the ground.
Mounting the sensor approximately one foot above ground level is typically sufficient. Also, remember the Cartell logo on top of the sensor should run parallel with the driveway, pointing in the same direction as vehicles travel.
Once you've selected an appropriate object, use the mounting holes on the sensor's bottom tabs to securely fasten the puck to it.
As with an in-ground installation, test your radio range and sensor operation before considering the installation complete.

Your Driveway Sensor Is Installed!
That's it.
For a typical in-ground installation beside the driveway, the process is straightforward:
Unpack the sensor.
Install the batteries.
Pair the sensor if necessary.
Test the sensor and radio range.
Properly clean, close, and seal the sensor before it goes into the ground.
Dig a small hole beside the driveway.
Secure the sensor using the provided auger screws.
Pack the dirt around the sensor, leaving the lid exposed for best radio range.
Perform a final test from the sensor's installed position.
Once everything is installed and tested, your Cartell driveway sensor is ready to detect moving steel vehicles entering or leaving your property.
And unlike general-purpose motion sensors, Cartell's magnetometer-based technology is designed specifically around detecting changes caused by moving steel.
Can the Sensor Be Installed Directly in the Driveway?
Yes.
In addition to installing the sensor beside the driveway or mounting it to an immovable object, Cartell wireless sensor pucks can be installed directly into the driveway itself.
However, this is a different installation process that requires additional tools and materials, including a masonry hole saw and loop sealant.
For direct driveway installation, refer to the installation manual included with your Cartell system for the complete procedure.
Need Help Choosing Where to Put Your Sensor?
Installation is only part of getting the most from your driveway detection system. Choosing the proper detection location is just as important.
Read our guide, “Where to Place Driveway Sensors for Best Accuracy,” for more information about positioning your sensor for your property.
Or, if you're still learning about driveway detection technology, start with “What Is a Driveway Notification System?” to learn how driveway sensors work and how they can notify you when a vehicle arrives.


Comments